Quick Answer
A rental move-in condition photo checklist gives an owner a dated visual baseline before keys are handed over. Photograph every room, fixed item, appliance, meter, key set, and visible defect, then connect the images to a short written move-in condition report with any unfinished work clearly marked.
Why a photo record matters before rental handover
Complete a Mumbai rental inspection checklist before the tenant settles in, repair responsibility becomes unclear, or cleaning items are forgotten. A structured record shows what was visible on inspection day, what was tested, what access items changed hands, and which tasks remained open. It is an owner-side record, not a substitute for the rental agreement, a mutually agreed handover document, or legal advice.
Key Takeaways:
- Take wide room photos first, then close images of wear, damage, and fixtures.
- Record meter readings and every key or access item before possession changes.
- Use filenames and a handover sheet that make each image easy to find later.
Build a rental move-in condition photo checklist room by room
Start with a repeatable inspection route
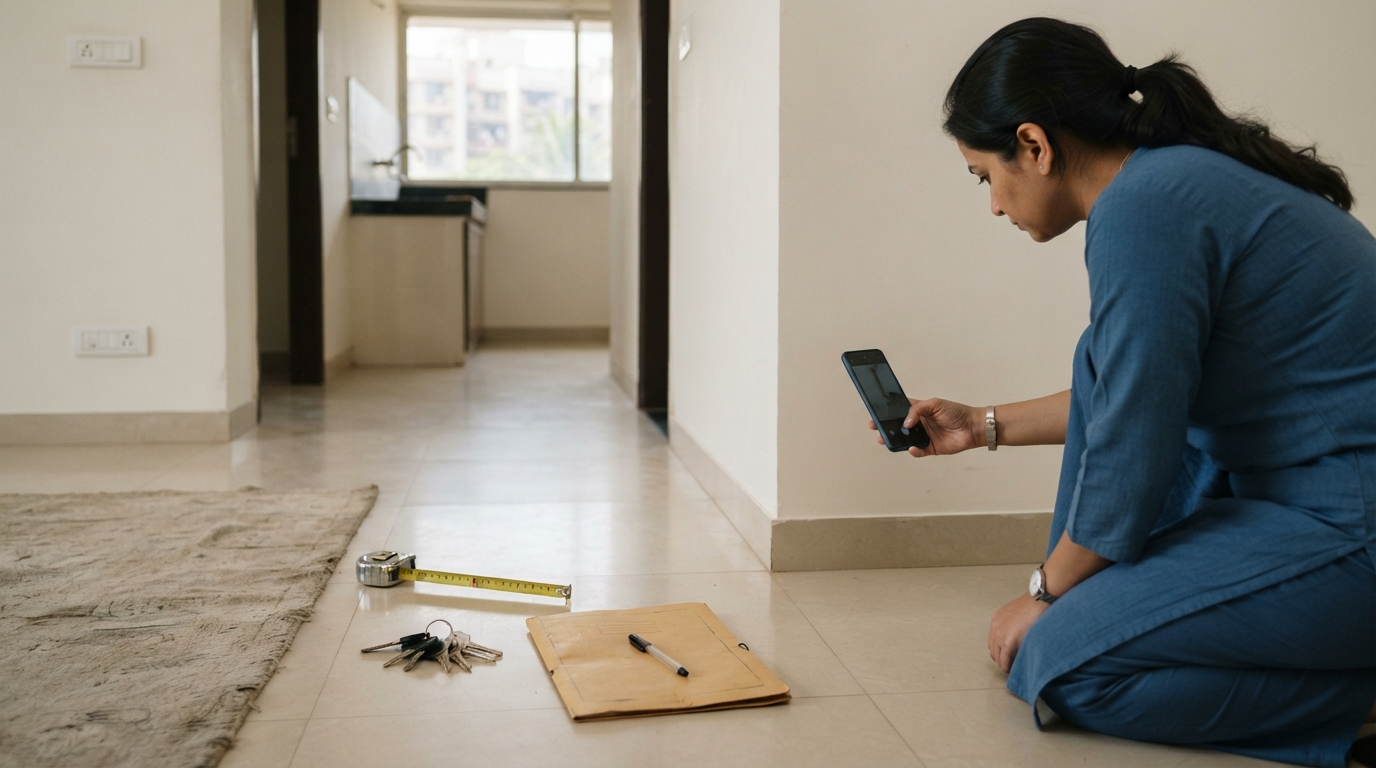
Use the same route through the flat each time: entrance, living area, bedrooms, kitchen, bathrooms, balconies, utility area, and parking or storage space where applicable. Begin each room with a wide photograph from the doorway and one from the opposite corner. These establish the layout and make later close-up photographs easier to identify.
Then photograph surfaces and installed items systematically. Capture walls, ceilings, floors, skirting, doors, handles, locks, windows, grills, curtains or blinds if provided, built-in cupboards, shelves, and visible switches. For a more complete owner record, use a flat inspection checklist for Mumbai rental properties alongside the photo sequence so physical checks do not depend on memory alone.
A useful photo set does not try to make the property look perfect. It identifies pre-existing stains, chipped tiles, cracked glass, peeling paint, damp patches, loose fittings, corrosion, scratches, and incomplete cleaning. Take one wider image to establish location, followed by a closer image that shows the issue without excessive zoom. If a mark cannot be seen clearly in the image, describe its location in the written record rather than overstating what the photograph proves.
Capture fixtures, appliances, meters, and access items
Photograph installed appliances and fixtures individually when they are included with the rental home. Examples include air conditioners, geysers, refrigerator, washing machine, cooktop, chimney, fans, lights, bathroom exhausts, taps, shower fittings, flush mechanisms, and water filters. Include a full view and a clear image of any visible wear or unresolved problem. Where an identification label or serial number is plainly accessible, it can be included in the record, but avoid photographing personal documents or unrelated private information.
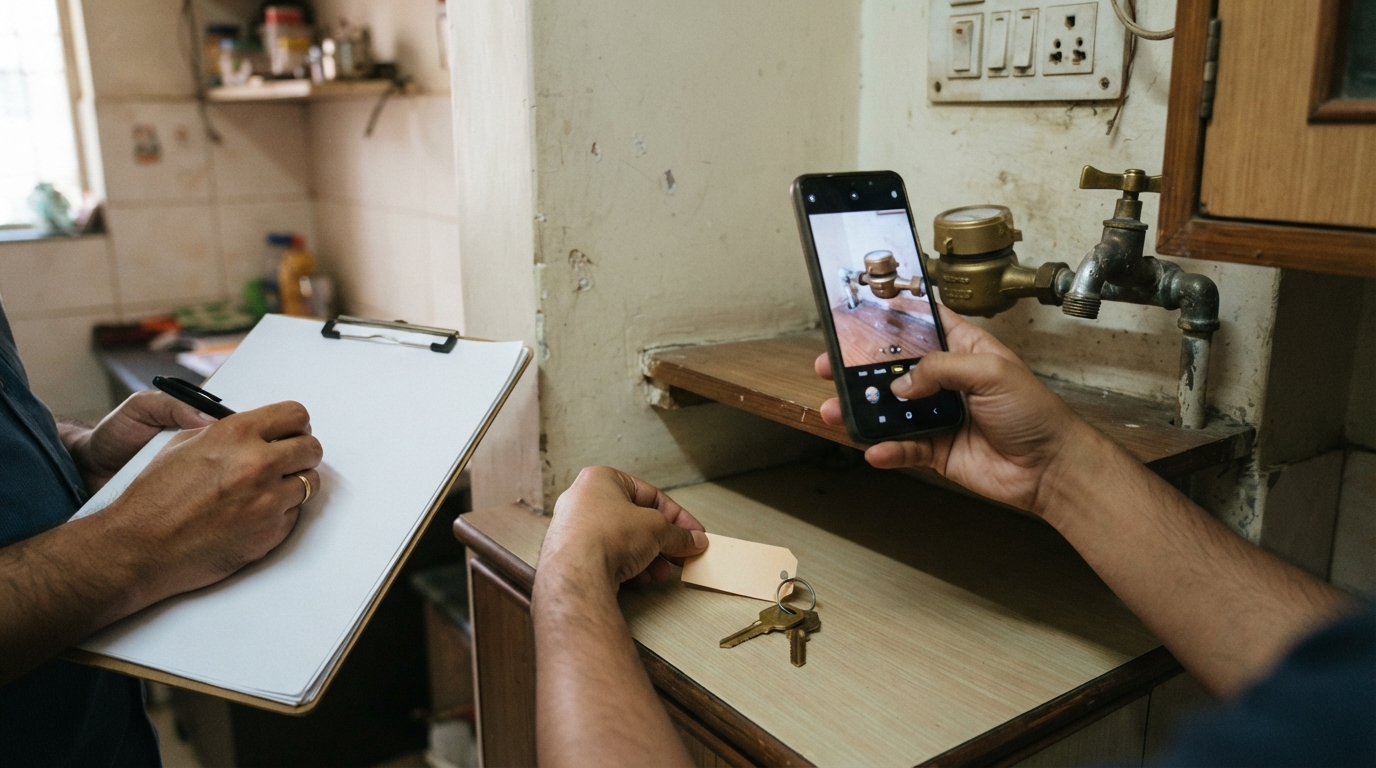
Meter reading photos should show the displayed reading and enough surrounding context to identify the relevant meter location where practical. A close-up number alone may be difficult to connect to a particular flat later. Record the inspection date next to the image reference in the written sheet. For a broader structure that covers rooms and repair observations, an owner-side property inspection report format can help turn loose images into a reviewable file.
| Record type | What to capture | How to make it usable |
|---|---|---|
| Room overview | Wide views of walls, floor, ceiling, doors, and windows | Name the room and photo direction in the file or report. |
| Visible condition | Close view of stains, chips, cracks, seepage, or damage | Pair a close image with a wider location image. |
| Installed item | Appliance, fixture, fitting, and visible condition | Note whether it was tested, not tested, or needs follow-up. |
| Utility meter | Reading and surrounding meter location | Link the image to the relevant utility in the handover sheet. |
| Keys and access | Each key type, remote, card, or access device | State the quantity handed over and any return expectation. |
The table is a documentation aid, not a prescribed legal format, and separates confirmed observations from items needing attention.
Turn landlord property photos into usable rental handover records
Label files and link them to a written handover sheet
Save photos in one property folder, then use a consistent subfolder for the move-in inspection. A practical filename pattern is: property identifier, inspection date, room, item, and sequence. For example: “Bandra-Flat-2026-10-09-Kitchen-Sink-Stain-01.” The label is illustrative, not a required format. Its purpose is to let an owner locate a photo without relying on a messaging thread or a camera roll.
Create a one-page handover sheet that identifies the property, inspection date, attendees, image folder, and open items. List each exception plainly: “Bathroom 2 exhaust fan not tested,” “Bedroom wardrobe shelf scratched,” or “Kitchen cabinet hinge repair pending.” Avoid vague entries such as “minor issue” because they do not identify the location, item, or next action. A rental property handover checklist can provide a useful sequence for putting the inspection, outstanding tasks, and possession step in order.
- Property reference: Use a consistent flat name or internal identifier on the folder, report, and image filenames.
- Observation status: Mark an item as satisfactory, damaged, untested, cleaning pending, or repair pending.
- Action owner: State who will arrange the next step and what evidence will confirm completion.
- Completion record: Add an after-photo or service note when an open item is resolved.
Keep original image files and the final handover pack with rental paperwork. Share a review copy with handover participants. Any confirmation method should fit the agreement and circumstances.
Use a remote-owner workflow that exposes exceptions early
Remote owners should receive a complete inspection pack before handover: access arrangements, wide and close images, and a written exception list. Review exceptions before keys are released where timing allows. For unfinished work, finish it, record it as pending, or set a follow-up process consistent with the rental arrangement.
Illustrative example: photograph a living-room ceiling from two angles, label a paint stain by location, log the electricity-meter reading, and list a loose tap as repair pending with a responsible contact. This documents observations; it does not establish liability.
Keys deserve their own record because access items are easy to overlook. Count the main-door keys, bedroom keys if separate, mailbox keys, parking remotes, building access cards, and any other items supplied with the flat. The key handover checklist for Mumbai landlords is useful for ensuring that locks, access devices, and quantities are identified rather than described generally.
Where an owner cannot attend, Keyhold can support local owner-side coordination for inspections, tenant handovers, repairs, paperwork, and updates. The goal is to provide a clear inspection and follow-up record for the owner, while keeping decisions on outstanding work visible rather than buried in messages. For the wider move-in sequence, review this Mumbai landlord move-in checklist before setting the handover date.
Create a record that can be reviewed after the keys change hands
Prepare the photo folder, written condition sheet, meter entries, key record, and open-item list as one handover pack. Review it before possession, correct missing room or meter images, and state follow-up items in specific terms. For owners who need local coordination without being at the flat, Keyhold can help organise the inspection, repair follow-up, paperwork, and handover records.
Get local property coordination support from Keyhold
Frequently Asked Questions (FAQs)
What should an owner photograph at rental move-in?
Photograph every room, including wide views and close images of visible wear or damage. Also record doors, locks, windows, cupboards, appliances, fixed fixtures, utility meters, and all keys or access devices provided with the flat. Link each image to a room or item in the written record.
How should a landlord document flat condition before handover?
Use a dated inspection route, a photo folder, and a short written condition sheet. Record the room, item, visible condition, testing status where relevant, and any open repair or cleaning task. This creates a clearer baseline than relying on informal messages or memory alone.
Should landlords photograph meter readings?
Yes, photographing meter readings is a sensible documentation practice before possession changes. Capture the displayed reading and enough of the nearby meter location to help identify it later. Record the date and utility type in the handover sheet, while recognising that agreement terms may govern billing arrangements.
How should rental inspection photos be organised?
Organise images in one property folder with a dedicated move-in subfolder and consistent filenames. Include a property reference, date, room, item, and sequence number. Keep a written image index or condition sheet so someone reviewing later can connect each photograph with the relevant observation.
What if a repair is still pending at move-in?
Record the exact item, location, visible issue, and follow-up status instead of leaving a general note. State who is expected to coordinate the work and how completion will be recorded, such as an after-photo or service update. Avoid presenting an unresolved item as completed.
How can a remote owner review a move-in inspection?
A remote owner can ask for a room-by-room photo pack, a meter and key record, and a concise list of exceptions before handover. Review missing items and outstanding repairs promptly, then retain the final documents together with rental paperwork for later reference.